由于lvs基于内核实现的负载均衡技术,因此主要是在内核层面配置,软件层面需要配置的东西很少。我们是通过软件生成配置文件,再讲配置文件刷到内核中。
1
2
3
4
5
6
7
8
9
10
11
12
13
14
| #安装组包
yum groupinstall "Load Balancer"
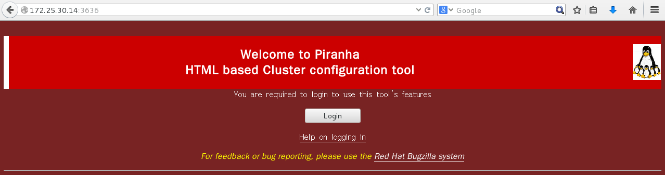
#启动图形化服务
/etc/init.d/piranha-gui start
#创建piranha用户密码
piranha-passwd
#通过图形化创建的配置文件存放在
/etc/sysconfig/ha/lvs.cf
#将配置刷到内核模块中ip_vs和ip_vs*
/etc/init.d/pulse start
|
1
2
3
4
5
6
7
8
9
| #测试脚本/bin/testlink
[root@lvs-f30 ~]# cat /bin/testlink
#!/bin/bash
/usr/bin/links -dump 1 $1 >/dev/null 2>&1
if [ 0 -eq $? ] ; then
echo ok
else
echo fail
fi
|
1
2
3
4
5
6
7
8
9
10
11
12
13
14
15
16
17
18
19
20
21
22
23
24
25
26
27
28
29
30
31
32
33
34
35
36
37
38
39
40
41
42
43
44
45
46
47
48
49
50
51
52
53
54
55
56
| [root@lvs-f30 ~]# cat /etc/sysconfig/ha/lvs.cf
serial_no = 30
primary = 172.25.30.14
primary_private = 192.168.122.246
service = lvs
backup_active = 1
backup = 172.25.30.15
backup_private = 192.168.122.247
heartbeat = 1
heartbeat_port = 539
keepalive = 6
deadtime = 18
network = nat
nat_router = 192.168.122.254 eth2
nat_nmask = 255.255.255.255
debug_level = NONE
monitor_links = 0
syncdaemon = 0
syncd_iface = eth2
virtual http {
active = 1
address = 172.25.30.100 eth0:1
vip_nmask = 255.255.255.0
port = 80
send = "GET / HTTP/1.0\r\n\r\n"
expect = "ok"
use_regex = 0
send_program = "/bin/testlink %h"
load_monitor = none
scheduler = wlc
protocol = tcp
timeout = 6
reentry = 15
quiesce_server = 0
server node1 {
address = 192.168.122.224
active = 1
port = 80
weight = 1
}
server node2 {
address = 192.168.122.245
active = 1
port = 80
weight = 1
}
}
|